Expose a Service to the Internet on Acurast
Acurast processors are phones. They sit behind carrier NAT with no public IP — so how do you reach a service running on one from the open internet? The Acurast Tunnel answers that: the processor opens an outbound reverse tunnel to a relay, and the relay gives you a public HTTPS URL that forwards straight into your deployment.
This first example is the simplest possible demonstration: it serves a static web page and a Dropbear SSH server from a single Cargo deployment, each on its own tunnel connection. Every other Cargo example in this series (Postgres, WordPress, Garage, Minecraft, Hermes, OpenClaw) is built on exactly this pattern, so it is the right place to start.
1. Get the repo and open the example
git clone https://github.com/Acurast/acurast-example-apps.git
cd acurast-example-apps/apps/app-tunnel/cargo
2. What's in the app/ folder
app/ is the code that actually gets uploaded to the processor. It's small:
| File | Purpose |
|---|---|
start.sh | The deployment entrypoint. Installs dropbear + Python, builds the getifaddrs shim, sets the SSH root password, starts a static web server (python3 -m http.server) on 127.0.0.1:8080 and SSH on 127.0.0.1:2222, then launches tunnel.py. |
tunnel.py | Opens the Acurast reverse tunnel — calls tunnel_start with localAddr (the web page) and secondaryLocalAddr (SSH), then reports the public URLs. |
getifaddrs_override.c | A tiny C shim LD_PRELOADed to work around a PRoot quirk (see PRoot Quirks). |
callback.sh | Helper that POSTs JSON lifecycle events (log, started, error) to your CALLBACK_URL. |
www/index.html | The static page that gets served. |
The two-connection idea is the key: the primary connection gets a real Let's Encrypt certificate (good for browsers); the secondary connection gets a self-signed cert and is used here to carry raw SSH.
3. (Optional) Use your own domain
By default the tunnel serves your deployment on https://<clientId>.acu.run, with a
Let's Encrypt certificate provisioned automatically — nothing to set up.
If you'd rather use your own domain suffix, it's a one-time DNS setup (a wildcard
record and an _acu TXT record) — follow the
Tunnel Quick Start
(step 2), then set DOMAIN_SUFFIX_MAINNET/DOMAIN_SUFFIX_CANARY below.
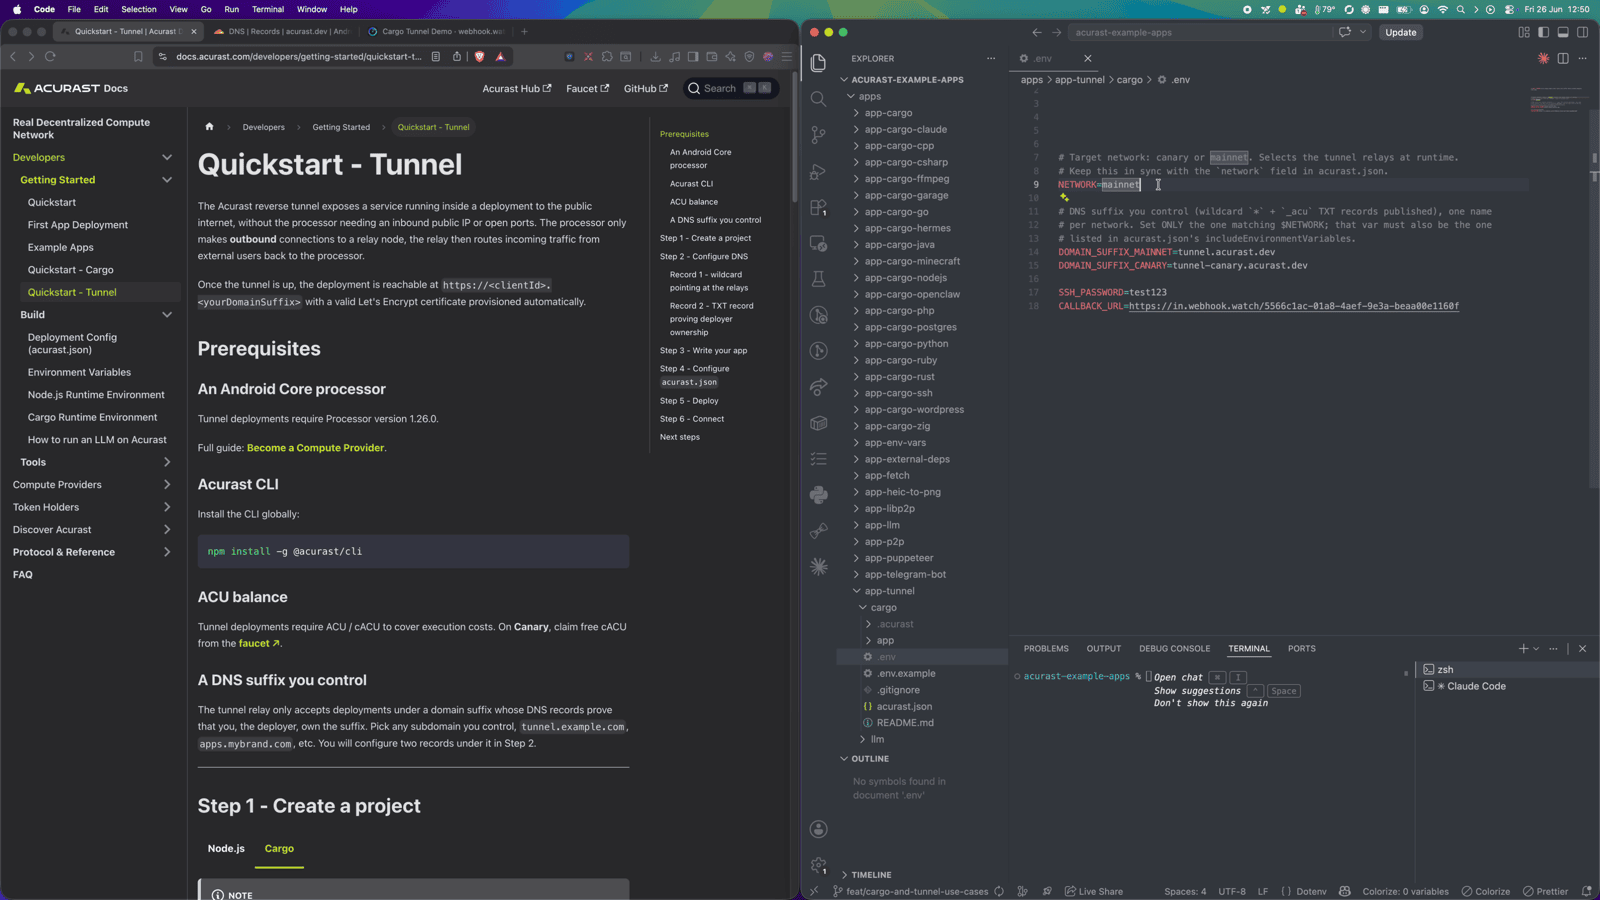
4. Configure .env
Copy the template and fill it in:
cp .env.example .env
| Variable | Required | What to set |
|---|---|---|
ACURAST_MNEMONIC | ✅ | Your deployer seed phrase (signs the on-chain deployment). Never commit it. |
NETWORK | ✅ | canary or mainnet. Must match the network field in acurast.json. |
DOMAIN_SUFFIX_MAINNET / DOMAIN_SUFFIX_CANARY | optional | Only for a custom domain. Leave unset to serve on acu.run. If set, use the one matching NETWORK and add it to includeEnvironmentVariables in acurast.json. |
SSH_PASSWORD | optional | Root password for the SSH session. Defaults to password — set a strong value. |
CALLBACK_URL | optional | Webhook that receives the lifecycle events. Use webhook.watch. |
Getting a CALLBACK_URL from webhook.watch
You don't want to chase deployment logs to find your tunnel URL. Instead, open
webhook.watch, which instantly gives you a unique
inspector URL. Paste that URL into CALLBACK_URL. As the deployment runs, its
log, started and error events show up live in the webhook.watch dashboard.
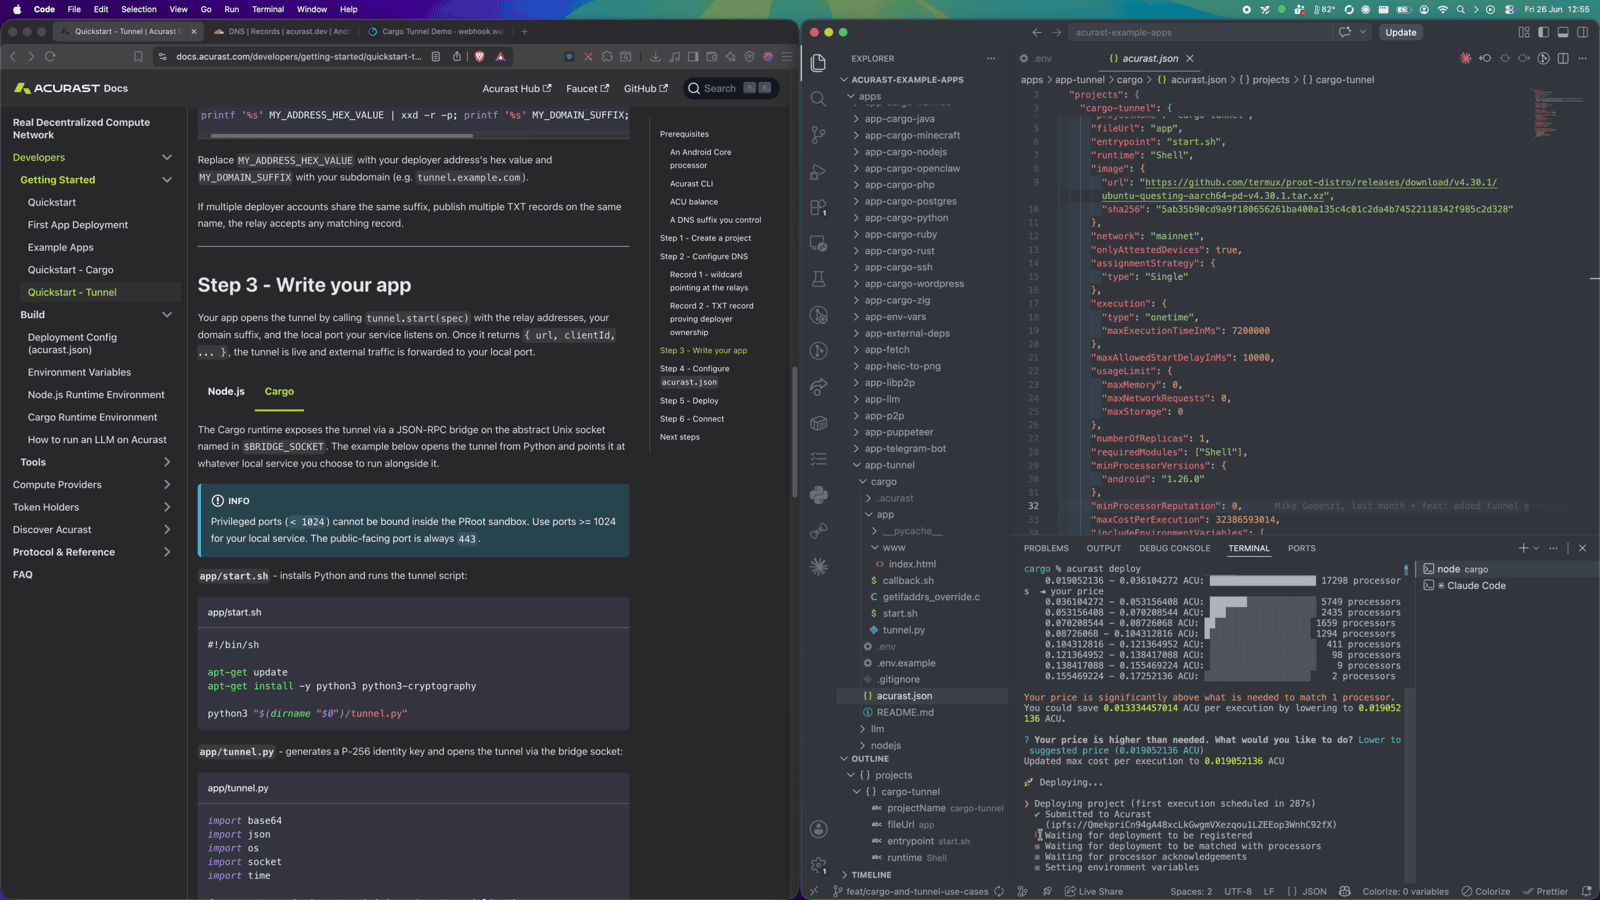
5. A glance at acurast.json
acurast.json is the deployment config. You rarely need to touch it, but it's
worth knowing what it declares:
runtime: "Shell"+image— runs your shell app inside aproot-distroUbuntu rootfs.execution—onetime,maxExecutionTimeInMs: 7200000(a 2-hour window; the deployment shuts down after that).minProcessorVersions.android: "1.26.0"— the tunnel API needs a processor on app version 1.26.0 or newer.includeEnvironmentVariables— the allowlist of.envvars forwarded to the processor (CALLBACK_URL,SSH_PASSWORD,NETWORK).startAt.msFromNow— schedules the start a couple of minutes out.
6. Deploy
acurast deploy
The CLI shows the current reward market — a distribution of what processors are charging — and a suggested price. Accept the suggested fee and confirm.
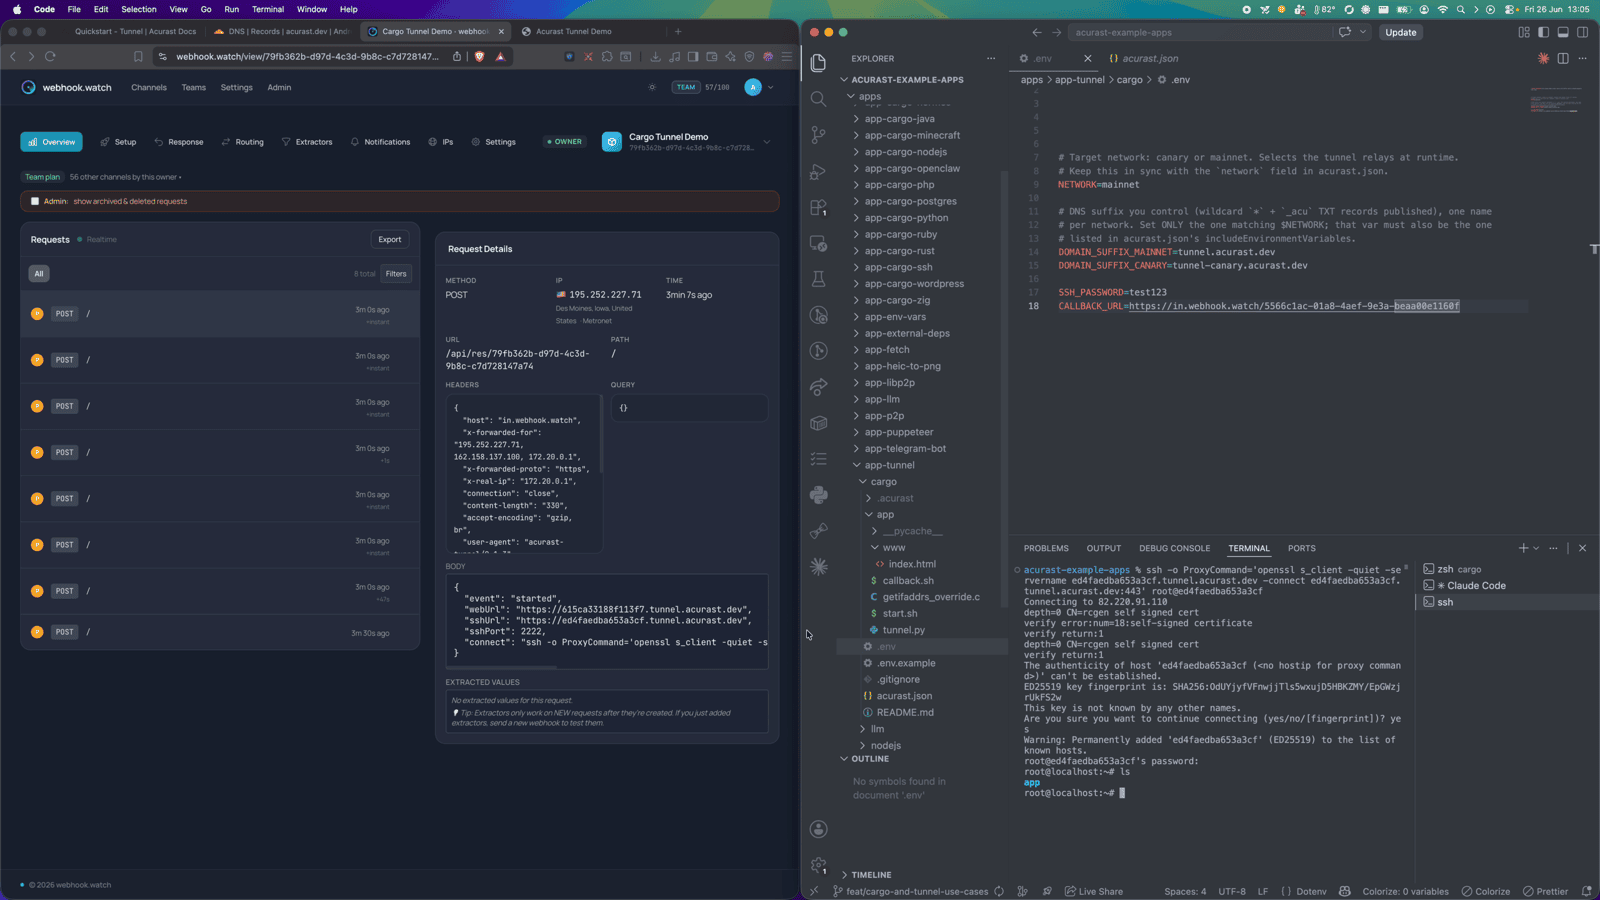
The deployment is registered on-chain and scheduled to start (per
startAt.msFromNow). Now watch your webhook.watch tab: first log events as the
processor installs dependencies, then the started event carrying your public
web URL and the SSH connect command.
Part 2 — Using the tunnel
This is where each example diverges. For the plain Tunnel example there are two things to try.
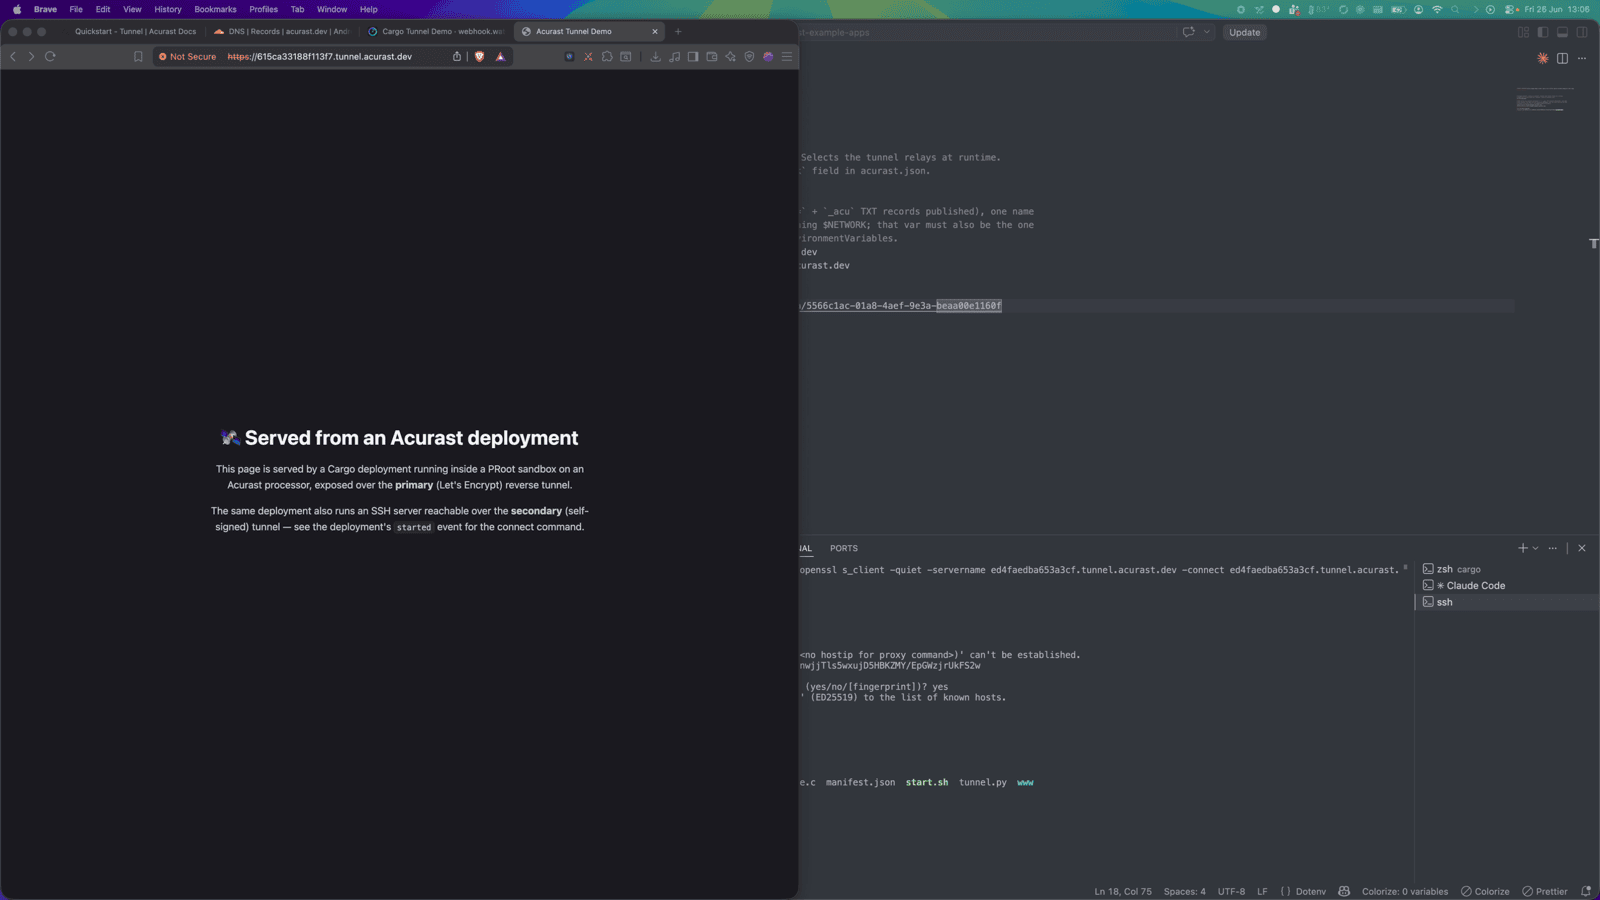
Open the web page
Take the url from the started event and open it in a browser:
https://<clientId>.acu.run
You get a page served from the phone over a real HTTPS certificate — no public IP, no port forwarding, no reverse proxy of your own.
SSH in over the secondary connection
SSH rides the secondary (self-signed) connection, so it's wrapped in TLS via an
openssl s_client ProxyCommand. The started event hands you the exact command:
ssh -o ProxyCommand='openssl s_client -quiet \
  -servername <secondaryClientId>.acu.run \
  -connect <secondaryClientId>.acu.run:8443' \
  root@<secondaryClientId>
Authenticate with your SSH_PASSWORD and you have a root shell inside the
deployment.
What just happened
The full path is: your browser → Acurast relay → reverse tunnel → the processor's sandbox → your service. The processor dialed out; nothing had to be opened inbound — and yet you get a public, TLS-terminated URL for the web page and a working SSH login, all from a phone.
That's the whole primitive. Everything else in this series just puts a more
interesting service behind localAddr.